Saturday, January 21, 2012

DIY Home plans for 2012

Happy 2012!


I'm just a few days late but better late than never, right??


So every year I have tons of DIY and decorating ideas just bursting to come forth.  This year is no exception.


I have put together a list of everything I would like hubby and I to accomplish this year.  Some of these things will cost lots of $$$ and others will be as simple as buying a can of spray paint.


  These are in no particular order.  We will do each project as the mood strikes.  That's just the way we roll around here.


I would like to strip all the wallpaper off the dining room walls and paint it a nice neutral tan.  I'm thinking tan right now but that could change as time goes on.  This was the first room I did when we moved here and it's been almost 11 years.


The wallpaper isn't in bad shape save for a few tears but it's just time for a change.


Once I get the walls finished, I would like to make some curtains for the windows.  I think curtains would warm the room up a bit.


Directly across from the dining room is the formal living room.  This room doesn't have any permanent light fixtures so the only lighting we have in this room are 2 small lamps.  Add that in with the dark walls and it's a very dark space.  I would like to do board and batten in here about 3/4 of the way up and then paint the top a very light blue/green color.  I think it would really brighten up the room a lot.


I would also like to see some nice floor length curtains to this room.  Sorry for the darkness of this picture.  I tried to lighten it up as best I could.  This gives you a good idea of how dark the room is.


I would also like to reupholster the loveseat and sofa.  Both pieces are still in great shape they just need a little change.  I was thinking maybe white or a light cream color.  I also need to get new end tables and lamps.


This is the family room, which is pretty much done.  I only want to add some curtains or valances to the windows.


Moving on to the kitchen.  We would actually like to gut most of it and replace everything.  We redid the floors about 4 years ago and the lights about 2 years ago so those things could stay but everything else would have to go.  We are so tired of the white counter tops and the white cabinets.  I believe the plan is to replace the counter tops then maybe paint the cabinets.  We go back and forth so tomorrow it could be something entirely different.


This bar area needs some major rehaul.  We honestly don't know what to do with it.  Of course, the counter top will be changed to something but what to do with all that white space underneath?


When we first bought this house the pantry was in what was actually a coat closet.  We had this laundry room right next to it that had a ton of empty space to the left and above the washer/dryer.  We decided to turn the original pantry back into the coat closet it was meant to be and turn the laundry room into a huge pantry.  The laundry would then be put into the basement.


This project goes on my to-do list every year.  It hasn't gotten done and I'm not sure of the probability of it getting done this year.  The whole issue lies in the basement.  Even though we are finishing it slowly, the room where the washer and dryer would be doesn't even have sheet rock on the walls yet.  It's been a slow process but I still wanted to add this project.  You just never know.


We just finished the floors in the master bedroom and upstairs hallway.  We now need to do something with the stairs leading up to the bedrooms. The carpet will be going we just can't agree on whether to replace it with stained hardwoods or more carpet.  Hubby wants the carpet and I want the stained hardwoods.  I love the look of the wood stairs and feel it would be much cleaner.  This project is on hold until we can agree.  So far, neither of us have budged.


This is my youngest son's room and the only thing we need to do in here is add some curtains.  His room is towards the street so he gets some light from the street lamps.


I would like to spray paint all these picture frames black.  I already have the spray paint but am waiting for it to quit raining so I can get this project done.


Another big project is our master bathroom.  If we had the choice, we would just blow this whole room off the house and start again.  It's just horrible.  Everything about it is horrible.  I guess I shouldn't be so ungrateful, we're lucky we have an inside bathroom, right????


Since we aren't able to remove it and start again, I want to do some minor changes.  You can see from this picture that I started to paint that wall brown.  I did it several years ago just to see if I liked it.  I didn't like it, it made the room to dark, but I hadn't taken the time or change it.


That huge mirror needs to go and the gold light fixture needs replaced.


The sad part is, I already have the paint.  I remember buying it and then I put it in the bedroom under a stand and never painted the bathroom.  I need to get my motivation on and get this project done.


We would also like to replace the floors.  We will most likely do tile in here and extend it to the closet.


This is the kids bathroom.  We would like to also add tile to their floor and get rid of this gosh awful linoleum.  We also want to add the glass sliding doors to the shower and get rid of the curtain.  I think it would keep water off the floor better than the curtain.


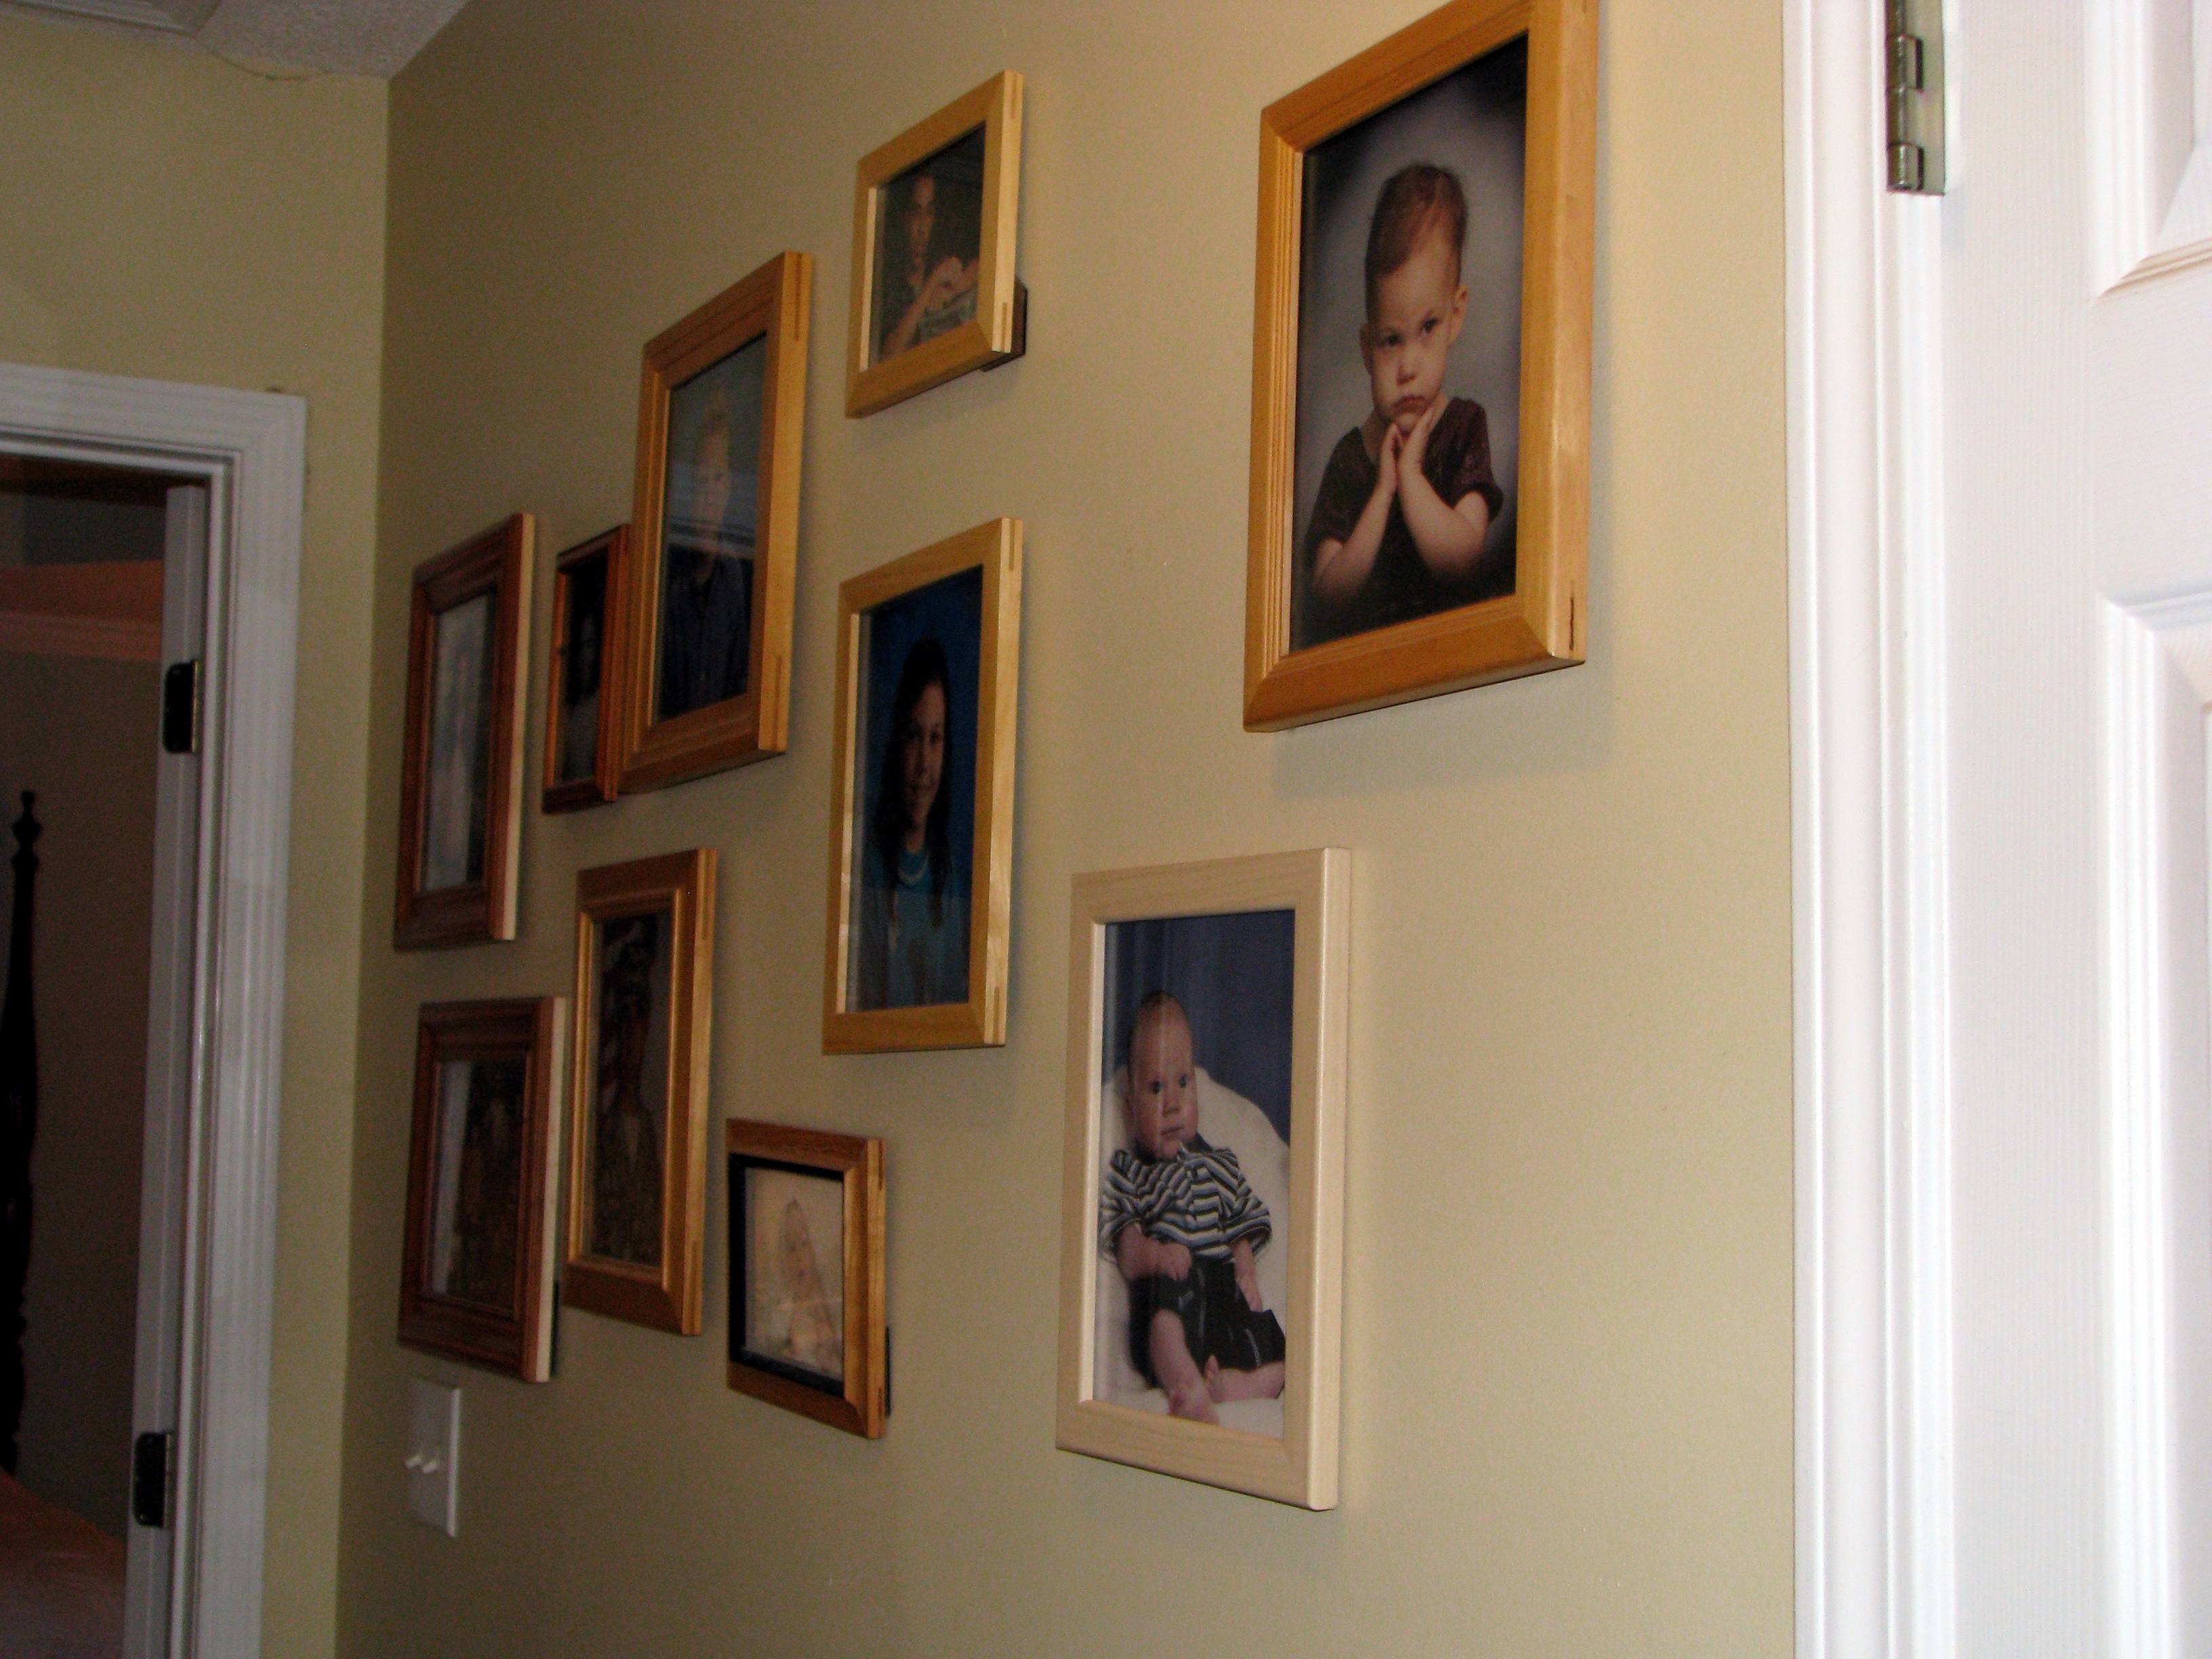
I have already started on this project.  I'm changing the frames to white, light blue and red.  I have all the paint and again am just waiting for the rain to stop.


These are the stairs going back down to the main floor.  Those triangle parts of the stairs is where the dogs like to lay.  They then scratch the wall and leave their dirt all over the carpet.  I think if we make it hardwood, they won't be doing that anymore.  They have their beds to lay on, they just choose to lay on the stairs.  We have already had to patch that wall and need to sand it and paint.


So that's about it, the home reno projects that I would like to see completed this year.  Maybe if we can get all these things done we can focus all our attention on the basement and get that done.  I'm sure other projects will pop up as we go along but this is a good start.


Now I just need to get hubby on board and get him busy.


Friday, January 20, 2012

Kitchen organization

It is a cold, overcast day in Atlanta today.


What a great day to show the kitchen a little love.


My kitchen is fairly small and I don't have a lot of cabinet space.  One of our cabinets has always been dedicated to plastic cups.  It's at the bottom and was very convenient for the kids when they were little.


Now that they have gotten a little older, we don't need to have as many plastic cups for their use.  They can pretty much safely use glass.


I decided that I would use this day to clean out the cupboard that houses our plastic cups.  It was time for some of the ones we've had forever to go away and some that have been sitting at the back of this cupboard never being used to go as well.


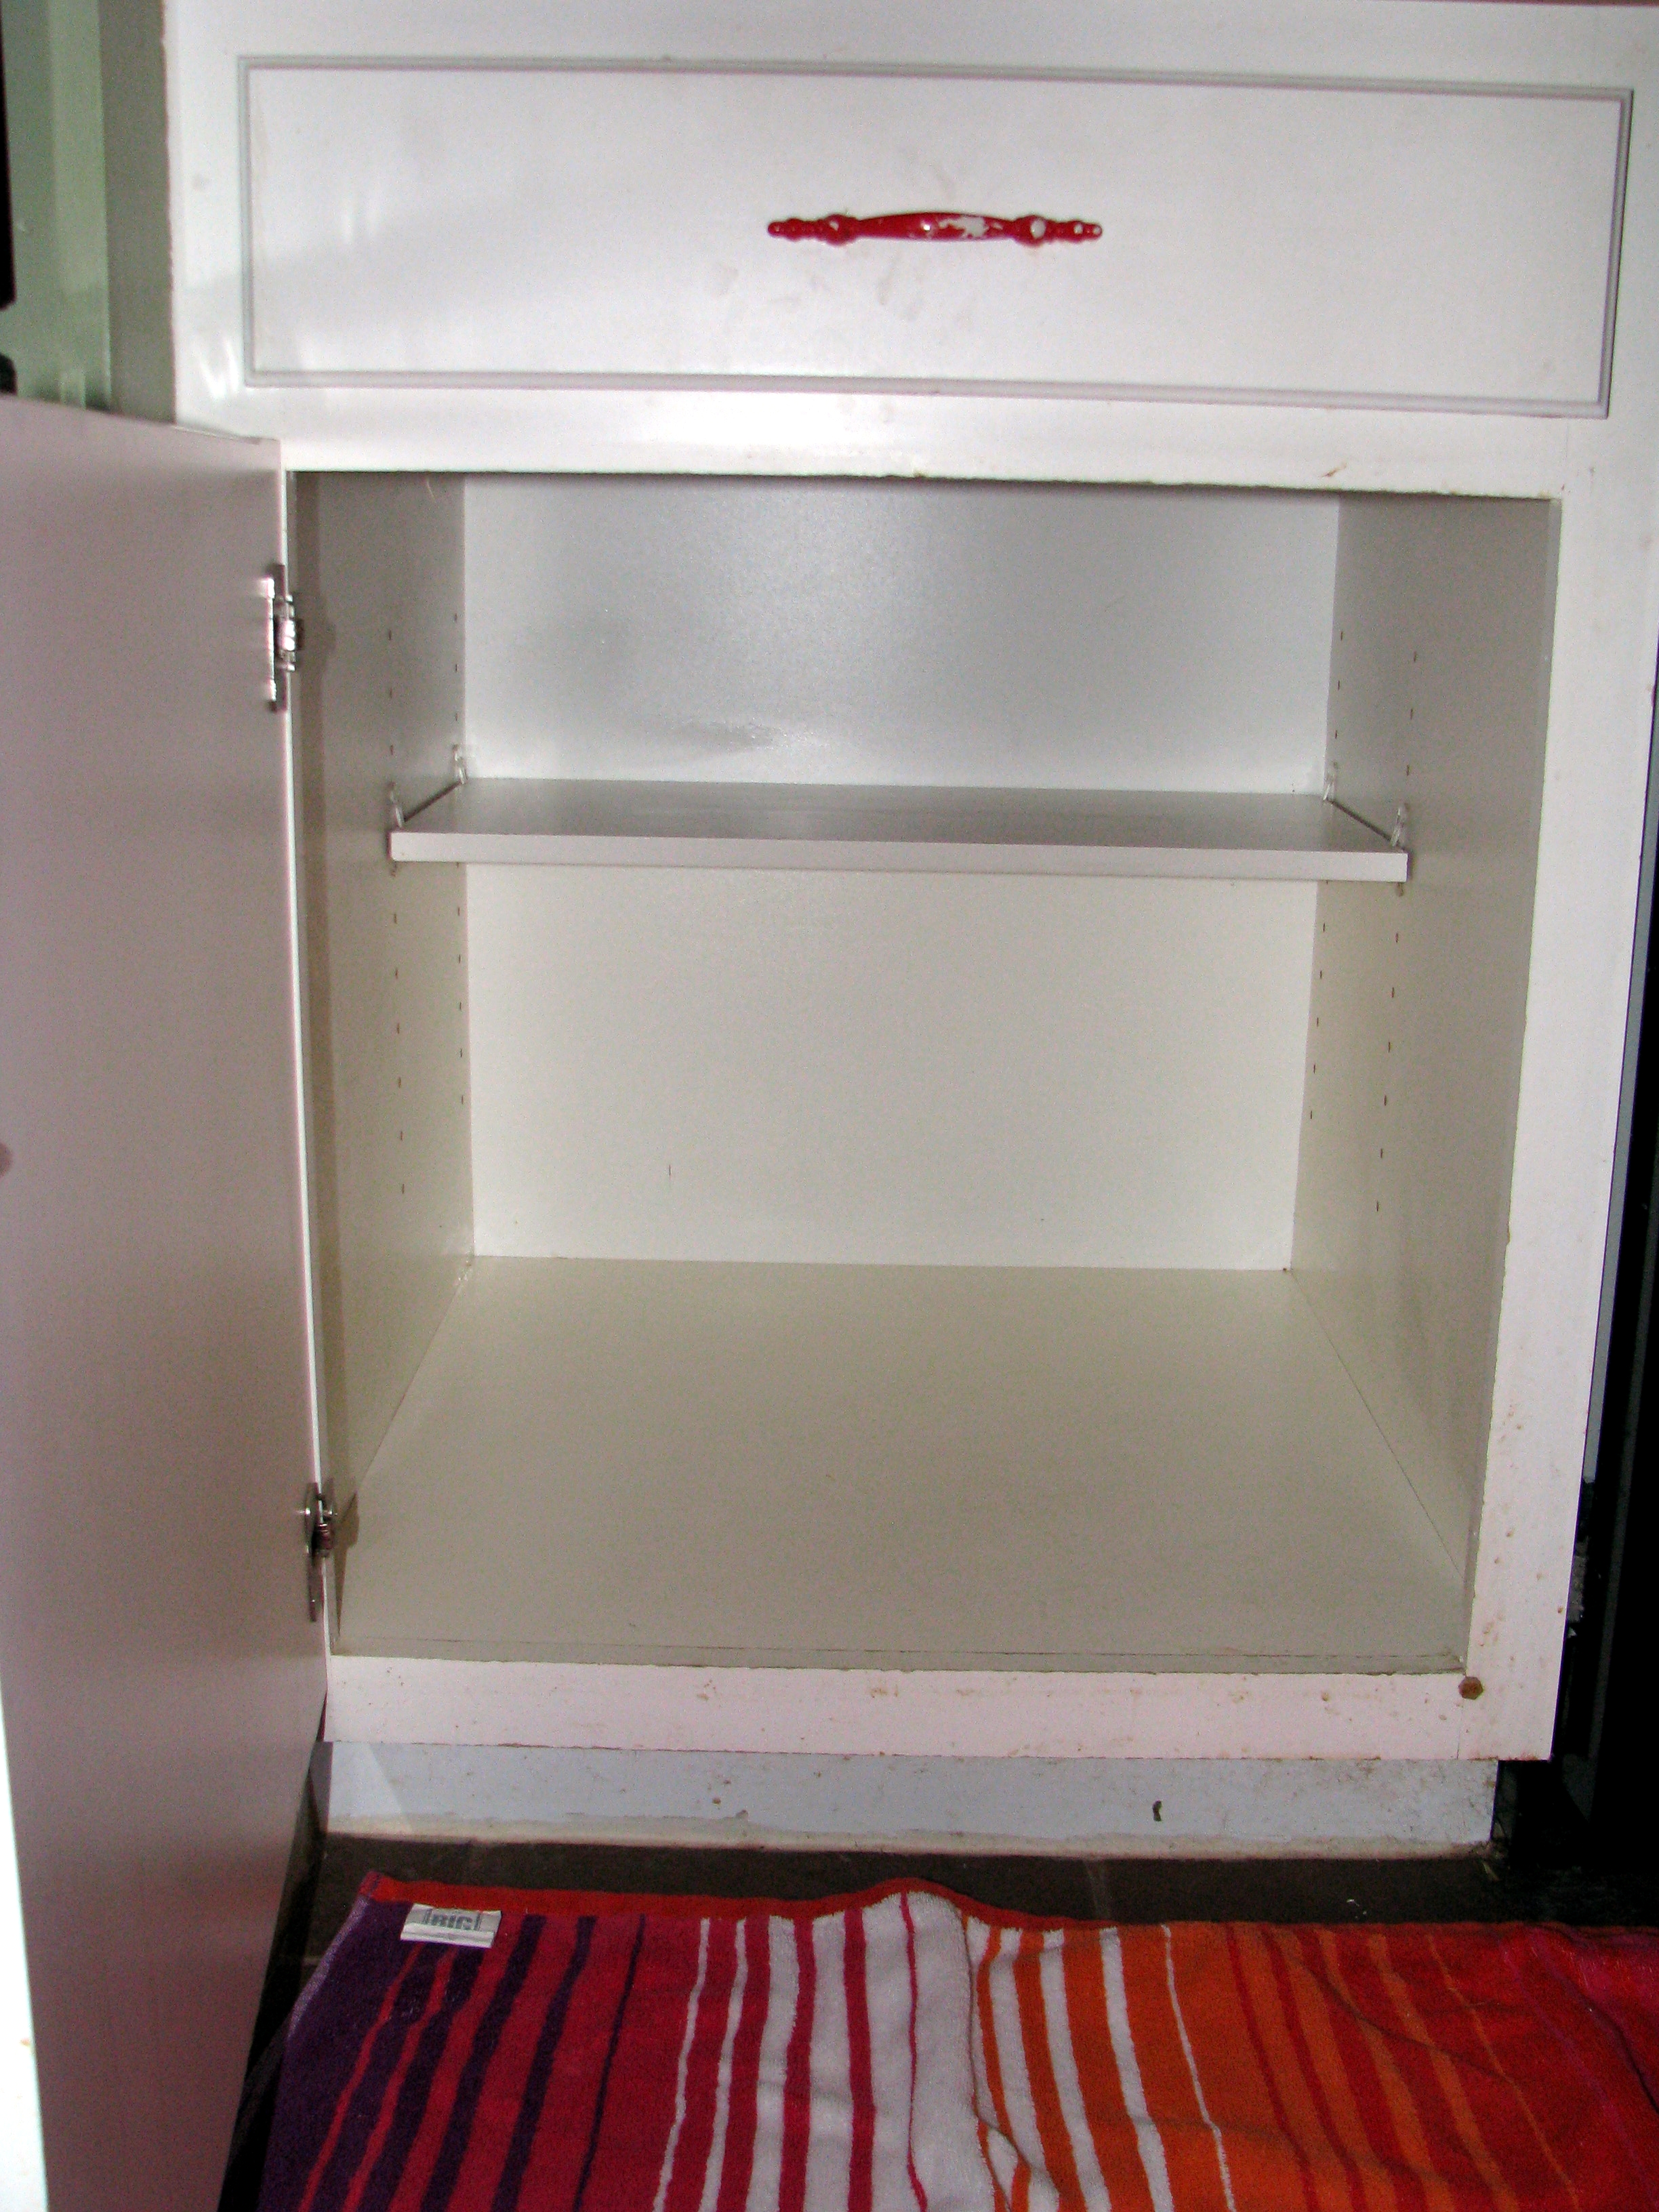
This is what the cupboard looked like:


We also keep our plastic pitchers in there too.  Well, I figured that since I am downsizing our number of plastic cups and they are currently in this bigger cupboard, maybe I could move them to a smaller cupboard and use this bigger one for other things.


This cupboard which has all my stones, cooling racks and cutting boards in it is way too crowded.  However, these things would be much more comfortable in the bigger cupboard.


See how crammed everything is in there?


I decided it was time to do the ole switcheroo.


Everything came out of both cupboards so I could see what we have and what needs to go.


I had some things in the back of the cooking stones, cutting boards cupboard that I had forgotten I even had.


I then sorted the cups onto 3 piles.  The cups on the left are cups that we use frequently.  The cups on the right are either broken, missing lids, or I'm just honestly tired of them and want them to go away because they are taking up too much room.  The cups in the middle are ones that may get to stay depending on space available.


Using my new cleaner that I made the day before, you can read about that here, I cleaned both now empty cupboards.


I then put all the things we wanted to keep back inside.


This is the new plastic cup cupboard.


And the new location for the cooking stones, cooling racks and cutting boards.  They seem so much happier in there.  I was even able to put my waffle maker and foldable griddle on the shelf.  Those 2 things were taking up residence in my pots and pans cupboard and were always in the way.


Everybody looks so much happier in there.


I'm so glad I did this project.  My family will be so confused for a couple of weeks but they will figure it out.


A Pinterest Cleaning Product

I just love Pinterest.


I find so many fabulous ideas on there.


There are so many creative people out in blog world and I love that we all have a great site to share those ideas.


I recently came across a recipe for this cleaning product.


Source


It is equal parts white vinegar and Dawn dishwashing liquid.


The person who posted it used it for their bathrooms and said her faucets and bathtub sparkled and was like new.


Well that definitely piqued my interest.  I love an easy cleaner that I can make myself that will actually do a great job.  I've always heard that vinegar was good to clean with.  I sometimes put a little vinegar in my water when I mop.


The next time I was at the store, I picked up a spray bottle, some vinegar and a bottle of Dawn.  Both my vinegar and Dawn were 9 oz bottles.


The other day I turned on my oven to get it preheated to make our bread for dinner.  I went into another room while waiting for the oven to warm up and finally remembered after about 20 minutes to go check on it.  When I came back into the kitchen, the oven temp was still at 100 degrees.  I knew that wasn't right.  I turned it off and tried again and this time I didn't hear the fire underneath kick on.  It's a gas stove and you can hear it.


Long story short, hubby had to pull the oven out to see what was wrong and try to fix it.  I was hoping it was something easy to be fixed, I'm not really prepared to go buy a new oven at this point.


When he pulled it out, I immediately saw this.


That's probably not as bad as some, but it's bad enough for me.  I know when I'm cooking I get drips and spills and what not.  It's really difficult to get down in there to clean and I don't make a habit of pulling my oven out often.  That usually only happens when it needs fixed, which is rarely.


So I decided it would be a great time to try the cleaner that I saw on Pinterest.  I hadn't mixed it together yet, so I got the plastic bottle, the vinegar and the Dawn.  Dawn is notorious for cutting through grease and I wash food off my dishes with it so I thought it would be a perfect cleaner for this mess.


All you do is warm the vinegar in the microwave.  I warmed it for 1 minute.  Then pour it into the plastic bottle and add the Dawn.  Give it a quick shake to mix it and you are ready to go.


I started by vacuuming all the dust bunnies on the sides and underneath the oven.


I then sprayed the entire side of the oven with the cleaner and let it sit for a minute.  I was able to easily white most of it with one of my cleaning rags but used a gritty sponge for the tougher spots.


It only took me about 10 minutes to clean one side.


This is how it turned out.


Their was one very light stream of something that I scrubbed and scrubbed but it just wouldn't come off.  Other than that, it's so much better.  I did both sides and the drawer then hubby pushed it back in.  I needed to get dinner started so I really didn't have much time to do more.


I will definitely be trying this cleaner on other areas of the house.


Tuesday, January 17, 2012

Handmade Birthday Card

One of my New Year's resolutions was to send family members birthday cards this year.


You can read about my resolution here.


Two of my sister's kids have January birthdays.  I usually do pretty good getting them cards in the mail, it's the ones that happen after that that sometimes get ripped off.


So this year, I decided that I would do my best to do better.


Part of the reasoning that I never got a card in the mail to them was because I would always forget to buy one when I was at the store.  I would write myself notes then lose the notes in my purse and it would be weeks after that I would find the note and by then it was to late.


Geez!


So I decided that I would try to make their birthday cards.


I went to good ole' faithful and trusty Pinterest to get some inspiration.


I really liked this one from Creative In Chicago.com


This one from Eighteen 25 is very cool too.


Then there is this one from cards-ideas.info.  A tri-fold and very detailed.  I'm not sure I can jump right into trifolds.


This one from Polkadot Chair really grabbed my attention.  It is quite cool and I like the idea of sewing the money or gift card onto the front.


So that was the one that I decided to base my card on.


The birthday coming up is for my sister's daughter, Abby.  She will be 12 this weekend.


Several years ago, my sister started us sending the birthday boy or girl the amount of cash of the age they are turning.  It's really great until they get to be in the high teens.


{Wonder what age we will stop this}


Anyway, the idea caught on and now my mom and I both follow suit.


I started by creating and printing out this card front from Storybook Creator by Creative Memories.


I printed it onto white cardstock.


I had purchased some pre-cut cards and envelopes from Hobby Lobby so I cutout and glued the printed cardstock piece to the front of the card.  I then cut a piece of velum to sew the money in.


After sewing in her money, I stamped "make a wish" on the inside of the card.


I left room for all of us to sign it.


This is what the finished card looks like.


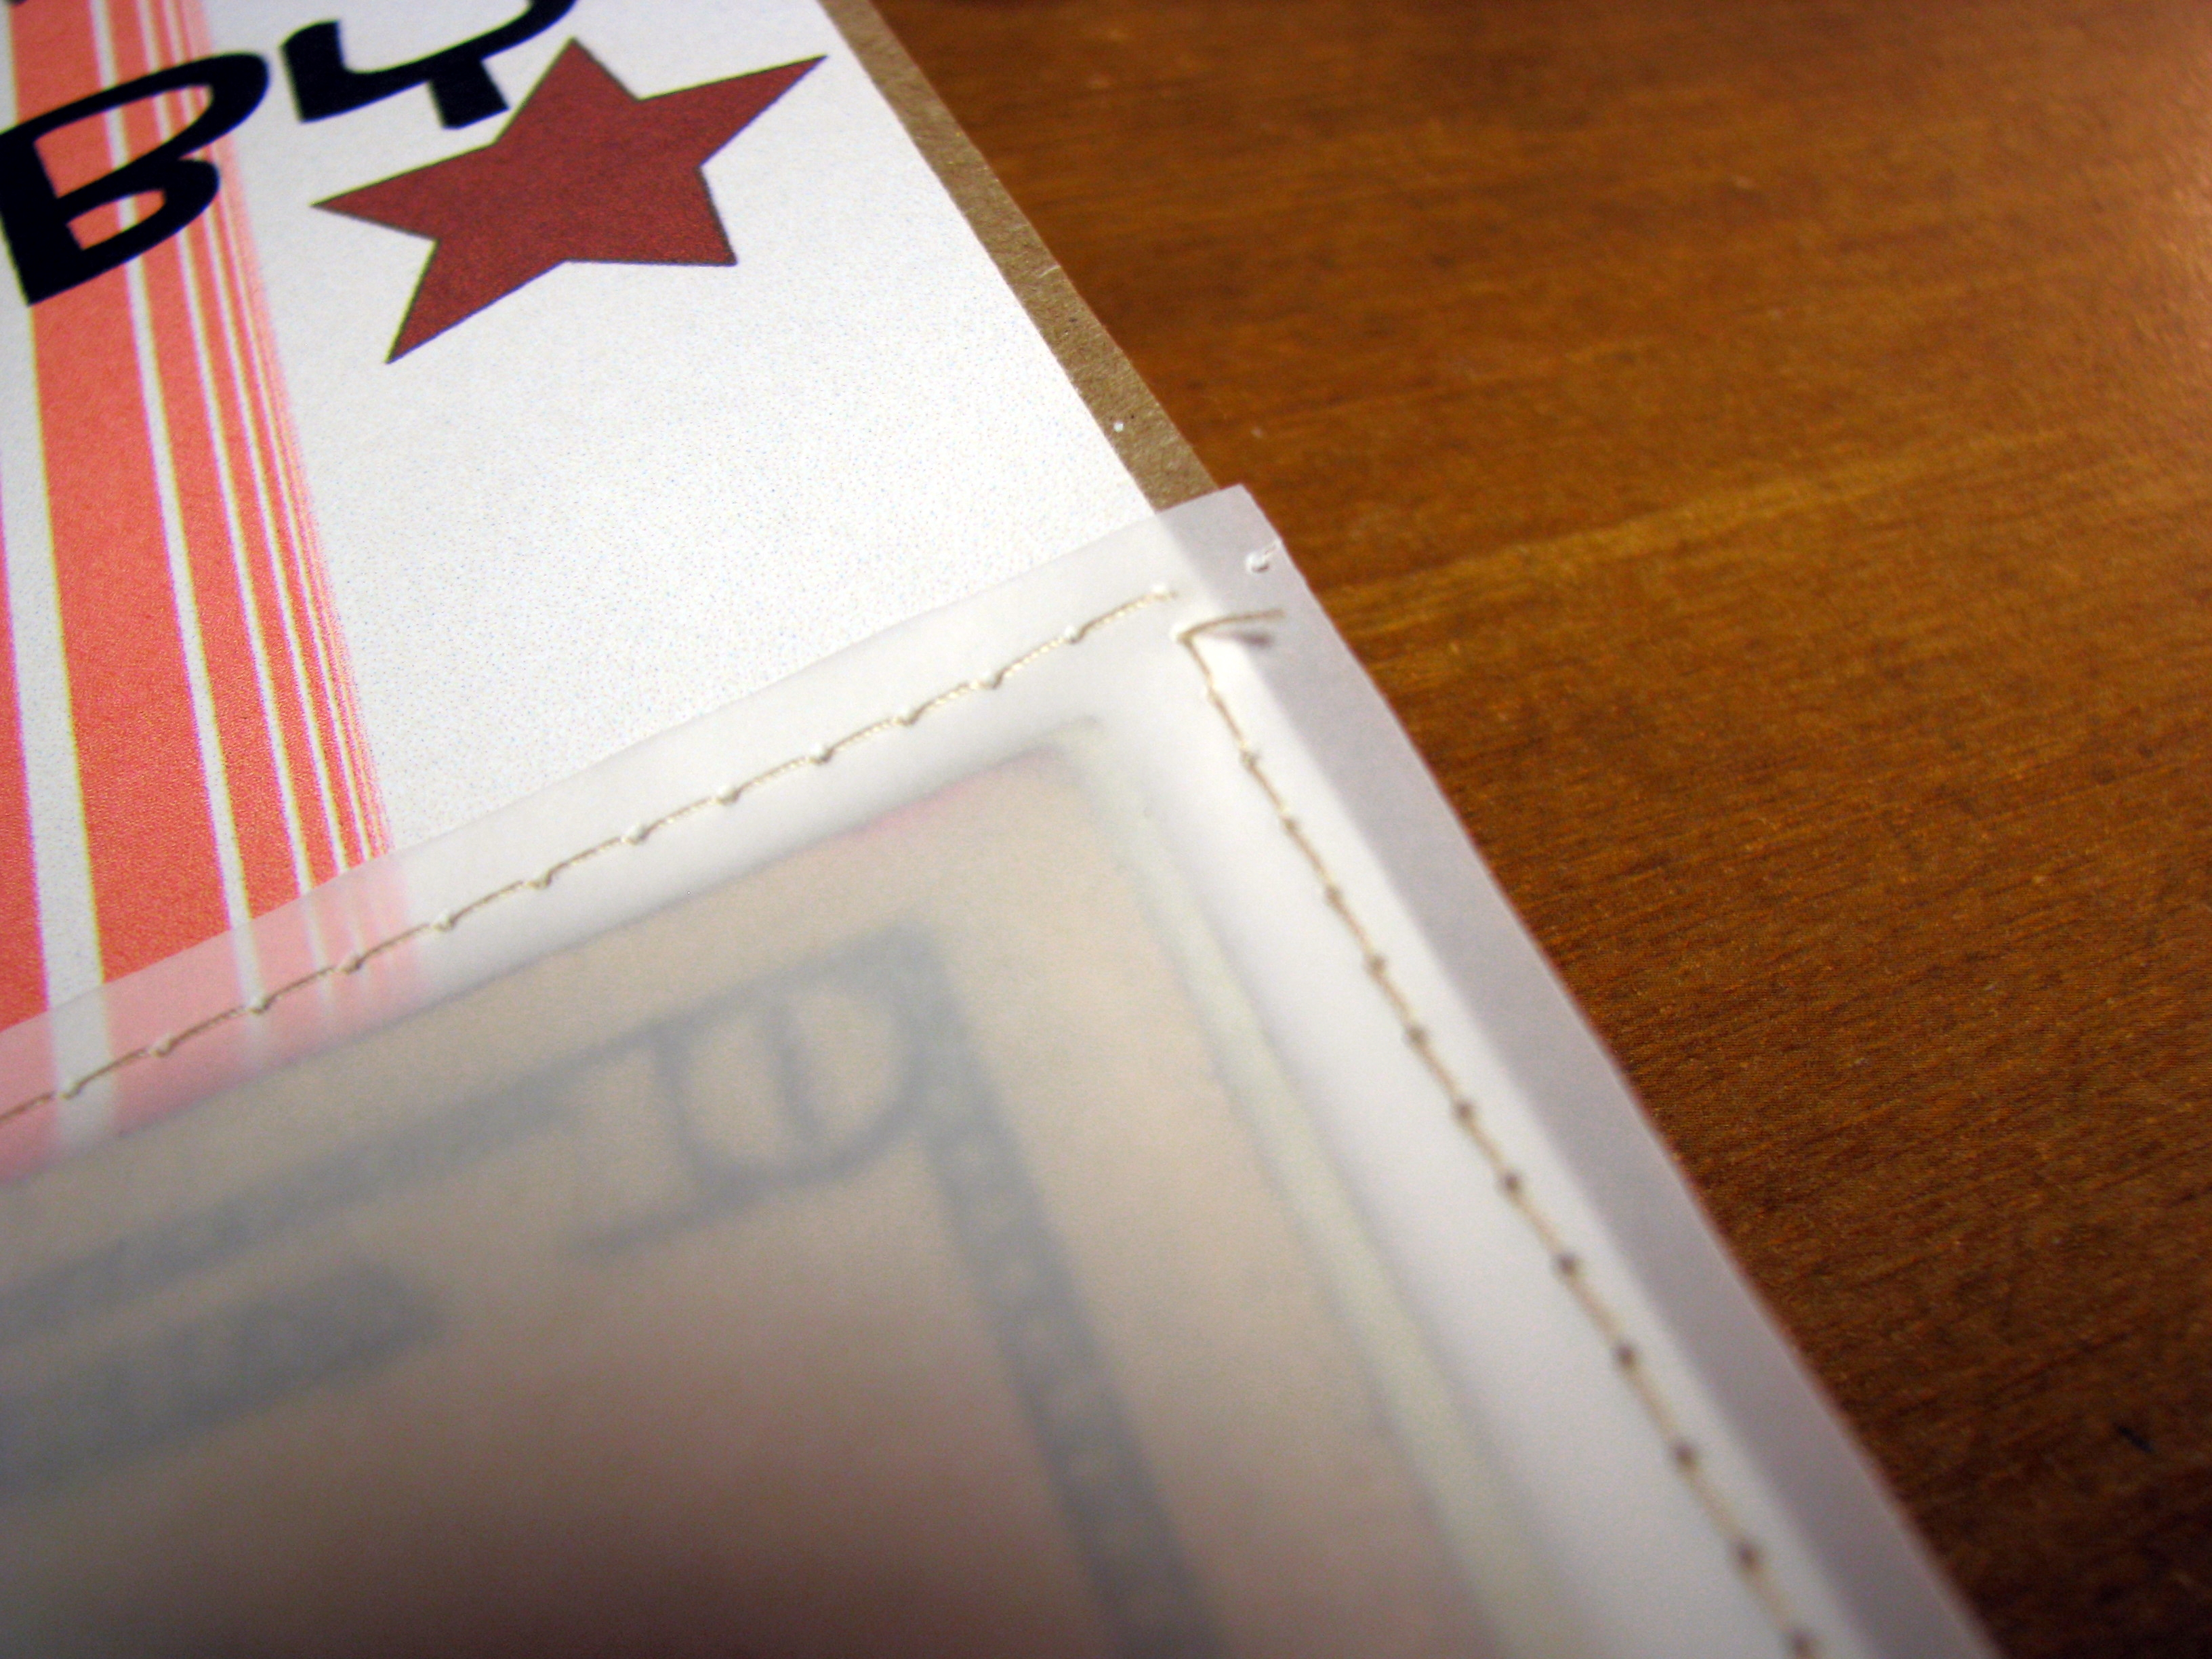
A close up of the 'money pouch'


I stamped my initial on the back.  That way she'll know it was made by me.


I'm off to a good start.  Let's hope I can keep it up.


I'm linking up with these parties......

LinkWithin

Related Posts Plugin for WordPress, Blogger...