2001
This is the year we bought our house and this is what our master bedroom looked like.

At this time we had a 2 month old baby and so putting our bed on the frame was most likely last thing on our list of to-do's.

At least the frame was out-of-the-way, tucked off in the corner.
This picture was taken a few years later. We did manage to get the mattress and box springs off the floor and onto their frame.
The bassinet is gone, which tells me the baby is sleeping in his own room; much to our relief, I'm sure.

We did add curtains, a treadmill and the black chair.
We still haven't added any paint at this point.

Our room stayed like this until 2009. We had just gotten back from the beach and I was completely inspired to finally paint our bedroom. Hubby always takes two weeks off in July. One of those weeks we spend at the beach the other we spend at home trying to do some type of home improvement project. This year, it was going to be our bedroom.
So off to Home Depot to pick out some paint colors. Since we had been at the beach, I was all into a beach theme. I wanted pale blue walls and some beachy touches.

Can you see that little patch of blue? That's what we ended up going with.
As we got started moving furniture and wiping down walls, we noticed how gross and disgusting our carpet was. It was especially bad under the bed. We have a Siberian Husky and she would lay under the bed and it was so gross under there.
Note: We hate carpet for this very reason.
So then we had the bright idea to go ahead and pull up the carpet. Our plan was to rearrange the bedroom furniture and the bed wouldn't be over the dirt spot the dog left anymore. Pulling up the carpet seemed like the logical choice. We would just go out and get the hardwoods that we want up there anyway.
So, that's what we did. We pulled up the carpet.

And we threw it out the window.
That was so much fun!!
The padding underneath it was equally disgusting and the floor under the padding had this very fine sand type stuff all over it. That would be our dirt that we live in. I don't care what kind of vacuum you have, you will never get that gritty sandy pieces of dirt out of your carpets. Don't fool yourselves into thinking you are. We have a Rainbow vacuum cleaner and still had the fine dirt under our carpets.

So that all came up and got thrown away and we got to painting the baseboards to make them nice and shiny and new looking.
Actually, the kids love to help paint so we put them to work.

This is how the room looked after we finished painting.

Hubby suggested we add an accent wall and I couldn't agree more. I love how it turned out.


Since then we have changed the bedding, gotten new curtains and lamps and added some more pillows.


I didn't like the maroon pillows so I changed them. You can read about the new pillows I made here.


I've also added a few accessories.

So that brings us to today. The room is pretty much finished save for one very important thing. The floors. I know we probably shouldn't have pulled up our carpet until we had new floors to put down but we didn't. We went ahead and pulled those nasty things on up. I know some people wouldn't put up with living on plywood floors for very long, but that's just how we do it over here. It really didn't bother me too much. I was just glad to have the nasty carpet out of the house.
So this brings us up to
2011
We are finally ready to put down hardwoods in the master bedroom. I couldn't be more excited. We went yesterday and picked up some samples so we could decided which color we liked best. We also have to make the decision as to whether we are only going to put hardwoods in the bedroom and put carpet in the hallway, landing and stairs. Or, do we extend the hardwoods into the hallway, landing and put the stainable wood on the stairs. I love the idea of having all hardwoods in the house. Right now, we still have carpet on the stairs and if we remove it and put down the stainable wood, we won't have carpet anywhere. We are still in the deciding phase on that.
Now, we need to pick out which color to put into the bedroom. This is where I need your help. Here are our choices.


Hubby doesn't like any of them. I don't know which one I like yet. What do you think?
End of 2011
We finally made the decision on the flooring for the bedroom. We decided to go with an engineered hardwood. We thought that would be the best decision for upstairs. We also decided to put it not only in the master bedroom but also down the hallway to the stairs and on the landing. The kids rooms have laminate flooring, which I wanted to pull up and do the same as our bedroom but the hubs didn't feel like we needed. Not to mention, he didn't want to spend the extra money or deal with the hassle of pulling their floors up and replacing them.
We got the carpet removed, the staples pulled out, the floor cleaned and our supplies bought.

We started in the hallway near the stairs laying the padding.
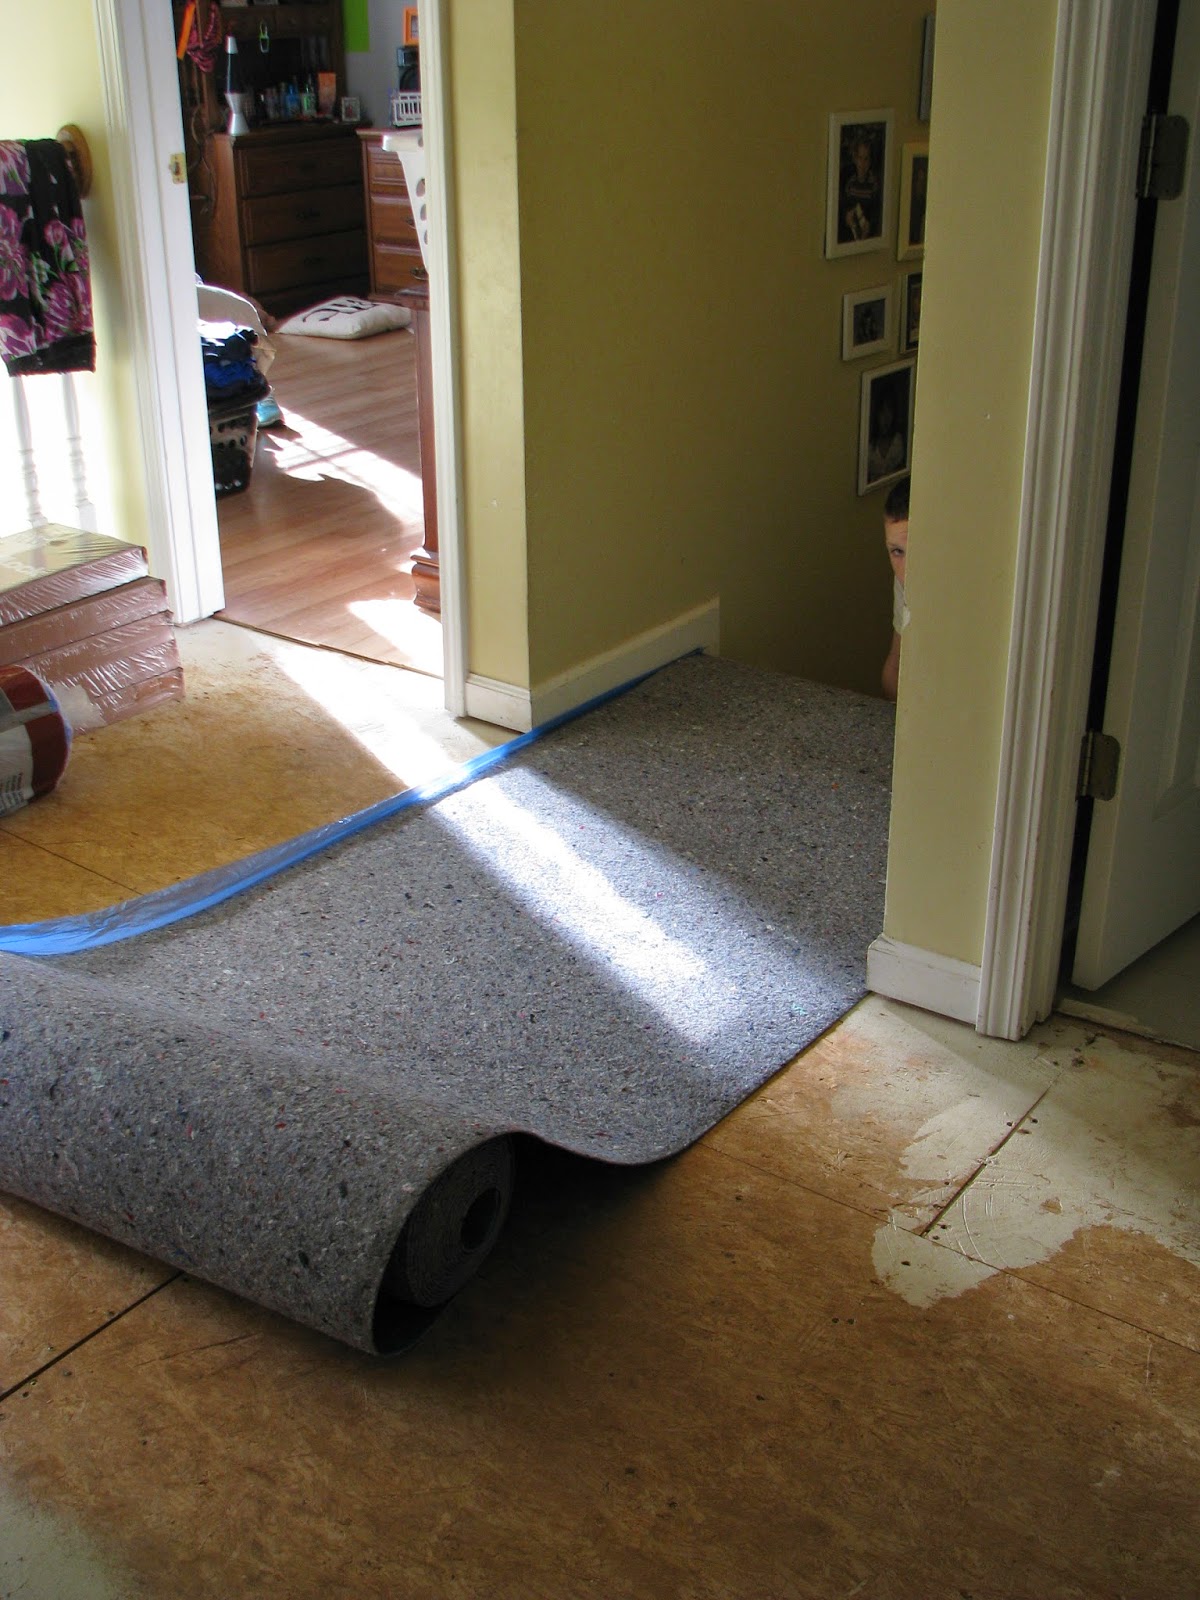
We went right down the hallway and into the master bedroom. I'm not sure why the hallway walls look so sunshiny yellow, but they are not that color at all.

We didn't want any edges to end up under the door to the master bedroom so we started laying the pieces of flooring there.

We then went off from that into the master bedroom. The process was very easy once with got going with it. The flooring snapped together super easy.

Making progress!

 We got one side of the bedroom done then moved some of the big pieces of furniture to that side and worked on the other side.


I love how it looks with the curtains put back up.

Master Bedroom Finished
I was so excited with the floors were finally finished. I just love how they turned out.


The view from the end of the hallway into the master.

This concludes updates to the master bedroom. For now, that is.....
But before we go, lets do a little comparison.
End of 2011
We finally made the decision on the flooring for the bedroom. We decided to go with an engineered hardwood. We thought that would be the best decision for upstairs. We also decided to put it not only in the master bedroom but also down the hallway to the stairs and on the landing. The kids rooms have laminate flooring, which I wanted to pull up and do the same as our bedroom but the hubs didn't feel like we needed. Not to mention, he didn't want to spend the extra money or deal with the hassle of pulling their floors up and replacing them.
We got the carpet removed, the staples pulled out, the floor cleaned and our supplies bought.
We started in the hallway near the stairs laying the padding.
We went right down the hallway and into the master bedroom. I'm not sure why the hallway walls look so sunshiny yellow, but they are not that color at all.
We didn't want any edges to end up under the door to the master bedroom so we started laying the pieces of flooring there.
We then went off from that into the master bedroom. The process was very easy once with got going with it. The flooring snapped together super easy.
Making progress!
I get so antsy during these projects. I want them done yesterday and hate that sometimes they take so long.
The other side is finally finished.
I love how it looks with the curtains put back up.
Master Bedroom Finished
I was so excited with the floors were finally finished. I just love how they turned out.
The view from the end of the hallway into the master.
This concludes updates to the master bedroom. For now, that is.....
But before we go, lets do a little comparison.

2001

2011
What a difference 10 years makes!

I'm linking up to these parties......


