Wednesday, September 28, 2011

Using a Pinterest idea

I saw this really great idea pinned on Pinterest a couple days ago.  I loved the idea, in fact; I believe I referred to it as genious. 


Credit


I have had this piece around my house for several years.


I love it but it is one of those pieces that I never quite know what to do with it.  I never know where to put it or what to put on it.  It always just seemed to travel around my house from room to room, surface to surface.


It's latest location has been in the entry way on one of those half tables with 3 twine balls on top.  It was simple to put together and it seemed happy there.


It has great detail. 


This morning it got a new home and purpose.


In trying to mimick the above look, I draped it with a fallish cloth napkin


Then I just sat my hand soap, dish soap, lotion and a candle on top.


It was super easy.  It gets these things off the counter, making the counter look cleaner and it's such a great use of a piece that never seems to have a permanent home.


I like how it looks even if it is taller than my bar.  Hopefully the kids won't knock the things over goofing around on the other side.


So, that's my version of a great Pinterest idea.

Not on Pinterest yet?  Send me your email address and I'll invite you.  You just never know what great idea you will find.


Victoria's guitar concert


Victoria gave up the clarinet at the end of 7th grade year and took up guitar.

The one she is playing was her dads when he was in college.

She has messed around with it for several years, wanting to learn to play it. 

We were very excited when we learned the school would be offering a beginning guitar class.


Last night was her first concert.


Ready to go....


Heading into the school to do warmups and get a good seat.


We couldn't see her from where we were sitting.  She was almost in the very back row.
During the last song, the teacher let us get up and stand in front of our students to get some pictures and also to video tape them.


They did a great job.  I hope she stays with it.


And now, for the very brave; a video.

I need to let you know that Victoria's brother, Zachary, who is 10 was behind the camera.  He discovered the zoom button so he is constantly zooming in and out on his sister.  Also, he didn't know when to shup it off so you get lots of stuff at the end; people talking, me telling everyone to line up for pictures, telling Zachary to stop zooming in on his sisters face; stuff like that.  Also, note that the band teacher let them play for waaaaaayyyyy to loooooonnnngggg.  So, if you get bored or tired of hearing the same notes over and over, just hit stop and move on with your life.

Enjoy!!


Saturday, September 24, 2011

A productive food day

Yesterday was a very productive food day.

Not only did I get dinner on the table in a reasonable time, I also managed to make cookies.  Brown Sugar Cookies to be exact.

About a month ago, I joined a website called e-mealz.com. If you have never heard of it, you must go to their website and check it out.

Heres an idea of how it works...... It costs $5 a week for 7 meals, you can choose what grocery store is your favorite to shop at and then they will send you a weekly menu and shopping list based on the sales flyer at your favorite store. I do the one for a family of five and all the ingredients for our 7 meals has never totaled more than $85.

My favorite store is Publix and since their sales flyer starts on Thursday, I print off my menu and shopping list on Wednesday then head to the grocery on Thursday morning. I buy all the ingredients I will need for the next week (plus a few extra things). It's great knowing that when I go to make dinner at night, I will have all the ingredients needed. I don't have to spend 30 minutes trying to decide what to make then crossing my fingers hoping that I have all the ingredients.

I have been able to get dinner on the table in about 30-45 minutes, most of the time its faster than that.

So last night our menu item was Simple Garlic Ziti. It was delicious and super easy.

I even made a salad to go along with it.


It was a big hit with the family.


I also made Brown Sugar Cookies. They were rich and soft and rich and just delicious. There the kind of cookies you definately need a glass of milk with to wash down.

I enjoy baking and trying new recipes.

You always need to start with good measuring spoons, and a No. 2 plate just because it's cool. I know some people don't measure but I have to measure everything. I can't 'eyeball' it.


You also need ground cinnamon and ground ginger. Sounds good already.


To that you add butter (can't go wrong there) and brown sugar.

Enough said!


Mix it all together, bake in the oven for about 14 minutes and this is what you get.
YUM!


So, here are the recipes. Hope you enjoy them.

Simple Garlic Ziti
2 T olive oil
5 garlic cloves - crushed
1 tsp dried basil
1/4 tsp salt
1/4 tsp pepper
1/8 tsp crushed red pepper flakes
28 oz can Italian-style tomatoes
8-12 oz ziti, cooked
1/4 cup Parmesan cheese

Heat oil in large skillet. Add garlic and saute 1 minute. Add basil, salt, peppers and tomatoes. Bring to boil; reduce heat and simmer 10 minutes until mixture starts to thicken. Serve over cooked pasta and top with cheese.


Brown Sugar Cookies
(makes 2 1/2 dozen cookies; from Epicurious September 2011)

2 cups all-purpose flour
2 tsp baking soda
1/2 tsp salt
1/2 tsp ground cinnamon
1/2 tsp ground ginger
1 1/2 sticks butter, softened
1 1/4 cups brown sugar
1 tsp pure vanilla extract
1 egg
In medium bowl whisk together flour, baking soda, salt, cinnamon and ginger. Set aside.


Place butter and brown sugar in bowl and mix on medium speed until light and fluffy, about 3-5 minutes. Stop mixing and scrape down sides of bowl with spatula. Add the egg and vanilla extract. Beat on medium speed for one more minute.


Add the dry ingredients, all at once, to the butter and sugar mixture. Beat on low speed until the dough begins to come together and the flour disappears. Finish incorporating the ingredients with a spatula. Cover the bowl with plastic wrap and refrigerate for 30 minutes.


Preheat oven to 350*. Drop tablespoon size balls of dough onto baking sheet. Bake cookies for 10-12 minutes, or until lightly browned around the edges. Cool on the pan for 5 minutes before transferring to a wire rack to cool completely.


Enjoy!!


Friday, September 23, 2011

Broccoli Gratin with Swiss and Parmesan


I found this recipe on Pinterest a few days ago and thought it looked and sounded delicious.
The recipe is originally from KalynsKitchen.com. You can check out her site and find lots of other great recipes.
I made this Wednesday for dinner and it was so good and easy that I decided to make it on Thursday too.
That's right, 2 days in a row. I was hoping my family wouldn't notice.... no such luck. My hubby picked up on it right away.
It was just as good the 2nd day as the first.
Super easy to throw together, takes about 5 minutes.


Toss the broccoli in a 9x13 dish. I buy the precut broccoli therefore saving even more time.


Spread the mayo, cheese mixture over the broccoli and put it in the oven for about 22 minutes.


It will come out all melted and lightly browned on top.


I served it on Thursday with mini cheese meatloaves.


So here's to getting dinner on the table in about 30 minutes.
Enjoy!!


Broccoli Gratin with Swiss and Parmesan
(Makes 4-6 servings, recipe adapted from KalynsKitchen.com)
5-6 cups bite-size broccoli foweretes (about 1 lb)
1 cup finely grated swiss cheese (about 2 oz)
6 T mayo
1 T fresh squeezed lemon juice
1/2 tsp Dijon mustard
fresh ground black pepper to taste
2 T finely chopped green onions
3 T finely grated Parmesan cheese
Preheat oven to 375*
Stir together mayo, lemon juice, Dijon mustard and black pepper. Stir in finely chopped green onion and finely grated swiss cheese.
Lightly spray a 13x9 inch baking dish and arrange broccoli into single layer. Spread mayo-cheese mixture over the top of broccoli. (I used a rubber spatula to do this. This is not a sauce that will completely cover the broccoli)
Bake uncovered for 20-25 minutes, until cheese is melted and slightly browned on top.
*Note: If you use fresh not already cut broccoli, you will want to cut it into bite-sized pieces and place it into boiling water for 1-2 minutes; drain then put into 9x13 inch baking dish.
I'm linking up with:


Thursday, September 22, 2011

Paint glorious paint

I just love paint. 

 If you have a room that has become dull to you and it just needs a good pick-me-up; paint can be your bestfriend.

I love the newness and freshness that a gallon of paint can provide.

I am especially loving all the painting that I have been doing in my basement.  We have been in our house for 10 years and have worked in the basement off and on during that time.  I never thought that we would ever have paint on the walls.

With each room that I paint, I feel such a sense of accomplishment.  I just hope my family will appreciate it as much as I am.

Let me recap a little bit.  In May I decided I wanted to finish the drywall in our full basement.  I started with an inconspicuous area under the stairs and have worked my way up from there to a closet, hallway, my new office/craft room and now my old office/craft room. 

This is what the room looked like before.


This is what it looks like now.


We finally finished the bay area so I was able to prime that part, let it dry then paint.


I got all the edges painted.


My son even helps with some of the painting when he got home from school.


The finished walls..... I'm doing the entire basement the same color.  It's from Home Depot and it's called Peanut Butter.  I think it's been a great color for the space.


After I let it dry tonight, I'll be able to go back tomorrow and add a 2nd light coat if need be.


Tuesday, September 20, 2011

The walls are finally primed...... mostly

In May I woke up and decided that I would like to finish the drywall in our basement.  This has been a project that my husband and I have been working off and on for several years.

We had everything drywalled but hadn't taken the time to finish the drywall.

I started out with a very inconspicuous area so if I messed it up terribly it wouldn't be too noticeable and we he could fix it.

Well, long story short, I didn't do too bad and was able to finish an area under the stairs, a hallway, a closet and my new craft room/office. 

I got the back room, which was my craft room/office; completely cleaned out and then summer hit, the kids were home all day and that's about as far as I got.

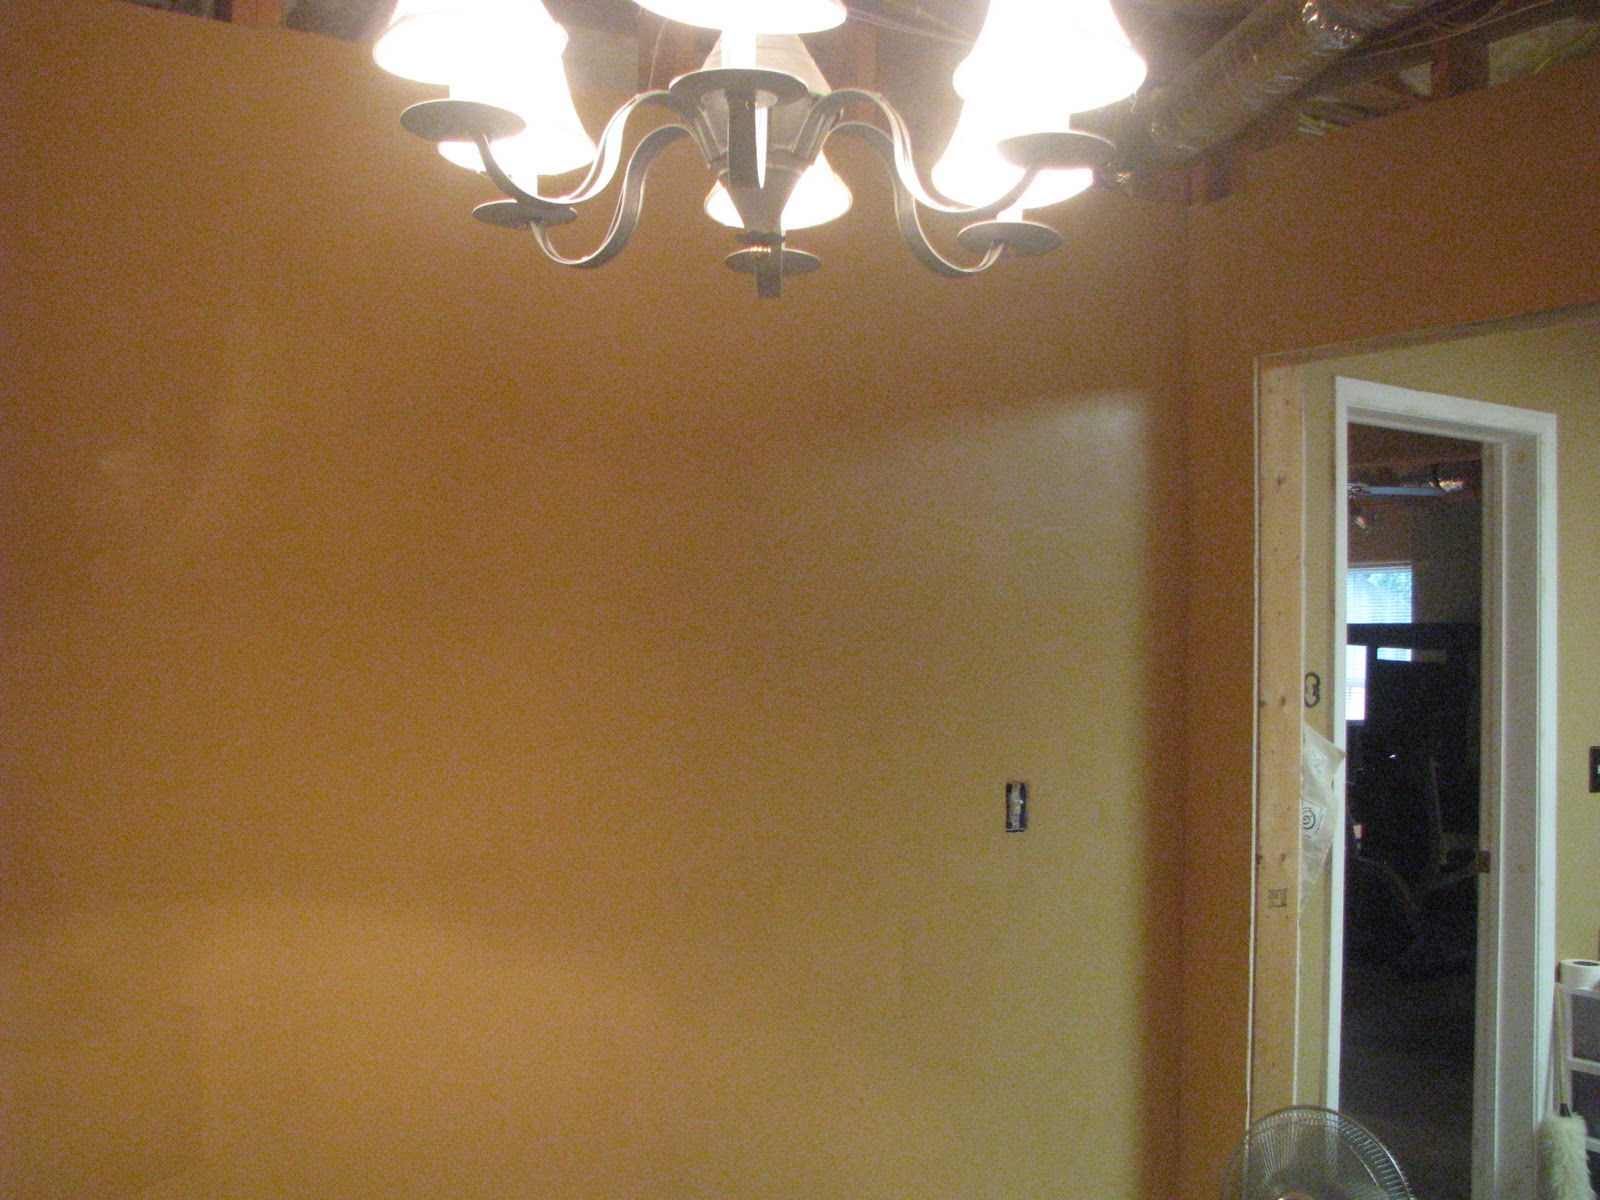
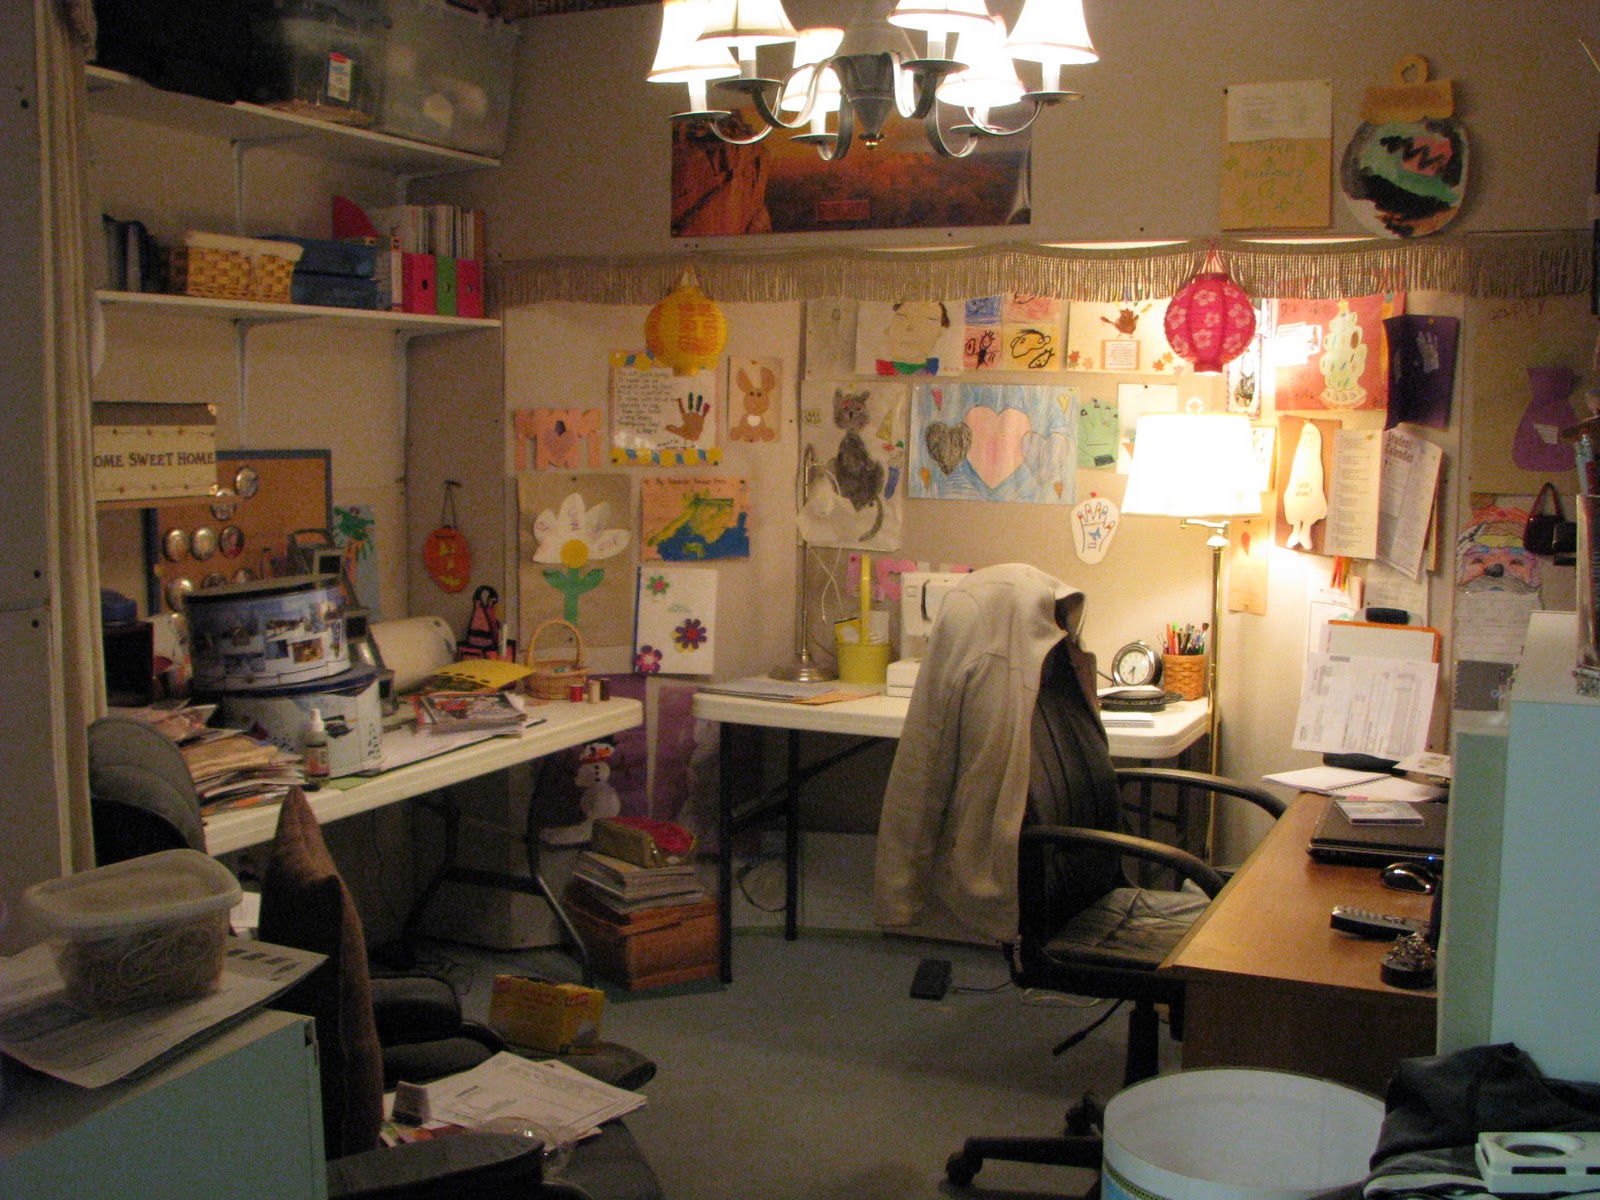
This was my office before I cleaned it all out.


It was a fun space.  I had hung plenty of shelves for storage and tacked lots of the kids artwork to the walls.

Let me stop here and give you a word advice: when you tack artwork to unfinished walls and then decide to finish them, you will have to mud and sand all the holes.... let me repeat; you will have to mud and sand every single hole that you put into the walls.

I wish I had had this vision before I stuck all those tacks into our unfinished walls.  I know better now and am being much more picky about what gets hung on the new finished walls.

So I got everything cleaned out of there and all the artwork taken down, which took forever.


I had to work on this room in shifts, or weeks rather, maybe it was more like months.  Remember, the kids were home for the summer and to me summer means hanging by the pool, spending time outside and going on vacation.  It doesn't really mean working my tush off in the basement.


School finally started again and after a few weeks of getting back into our routine, I was able to head back downstairs and get some work done.

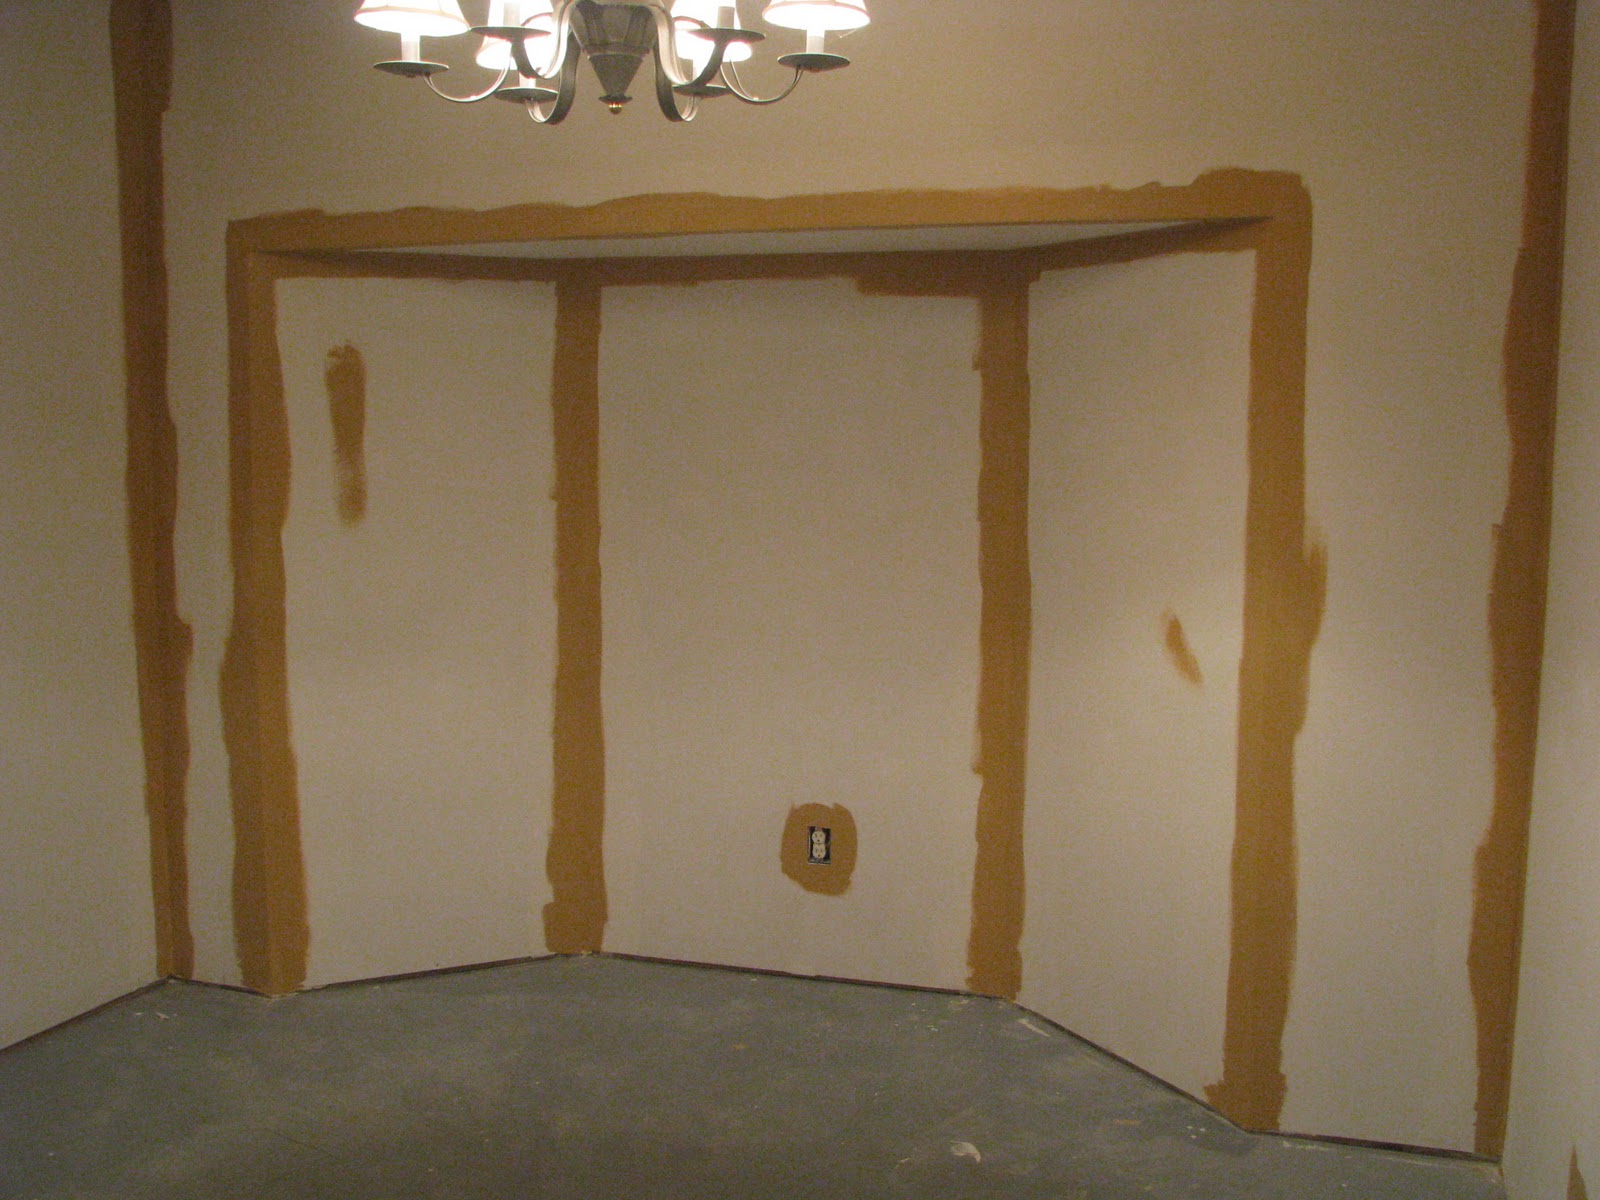
I got everything mudded and sanded and mudded and sanded again.


The chandelier that you can kinda see in the above picture I purchased at a garage sale for like $8.  I know, what a steal right?  I love it and since I moved my office/craft room to the larger room, I wanted my chandelier to go with me.

So I have been checking out 
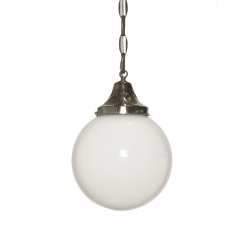
Pinterest for ideas of another light fixture to go in this room.  I found lots of great ideas but this light really jumped out at me.


I just love the look of it. When I checked the website that sells this particular lamp and realized it was almost $2000; I decided I would have to find something similar.  That's right, I said two thousand dollars.

 I checked out some local home improvement stores in my area for something similar with no luck.  I then checked out our local goodwill and an antique mall.  I didn't find this exact style but I found this:


It's ugly but when I first saw it my thought was that it has potential.  So I'm standing in the middle of the antique mall texting my husband to see if he thought we could spray paint it black.  After much explaining and sending him a picture of it 3 times because the screen on his phone is so tiny he couldn't see it; he finally said 'yes' he thought it would look good painted black and that it would be a good light for that room.

I love the big bulb most of all. 


I showed it to my mother who said she loved the color and didn't think it needs painted at all.  I think she's stuck in the 70's. 


I can't wait to see how it looks once hubby is able to work his magic with the spray paint.

So today I got myself busy and got the walls primed.  We have one area, the bay window area, that had to have the corners fixed so it didn't get primed yet.  I'm hoping to be able to sand those corners tomorrow (and they won't need a 4th coat of mud) so I can get the entire room primed then hopefully painted by Friday.

We'll see if that all works out.  Sometimes home improvement doesn't like to follow the time line we want it to.


The important thing is that I'm making progress.  It'll be finished one day and I can't wait for that day to happen.

Thursday, September 15, 2011

Two down, four to go

I finished my 2nd of 6 dining room chairs today.


I do have to say the 2nd chair was much easier than the first.
I kinda knew what I was doing by this point and
I also knew what to expect.

The lady at JoAnn Fabrics, who sold me my new staple gun, told me
that my hand would get sore after about the 4th chair.

Well, I've only finished 2 and my hand is sore.
I even took a few days break between chairs and it's sore.

It probably wouldn't be too bad if maybe I didn't have to push so hard on the lever and hold the gun down with both hands to make sure the staples go in.

This is the staple gun that I got:


But maybe if I had something a little more like this:


The Surebonder 9615 Pneumatic Fine Wire Staple Gun from Amazon.com

Now that looks like it would make reupholstering alot more fun. 
Not that I'm not having fun, it's just hard work.
We all know thats not fun!

It even comes with a handy carrying case.

With this baby, I could reupholster everything in my house.

Well, maybe not everything; but it would be a lot easier to finish my chairs.

Maybe hubby will feel sorry for my poor hands and surprise me with this.

It's only $40; you never know!!


LinkWithin

Related Posts Plugin for WordPress, Blogger...